Building Home Lab for Pentest – Part 1
Embarking on a journey to enhance our pentesting skills and explore innovative tools is a thrilling endeavor. In this blog series, we’ll delve into the process of setting up a lab dedicated to learning pentesting and experimenting with cutting-edge tools to elevate our workflow. Part 1 will guide us through the establishment of Metasploitable 2 and executing nmap scans from our Kali machine.
In this Post:
- Lab Level 1: Simple Lab Setup on VM ware to test tools and practice techniques
- Lab Level 2: Setup pivot system on Virtual Box with External and Internal systems

Introduction
As security professionals, the pursuit of continuous learning is paramount to staying ahead in the ever-evolving landscape of cybersecurity. A crucial step in this journey is the creation of a home lab, which can range from a few virtual machines on your laptop to an old dedicated PC, or even a collection of servers and switches.
Everyone has to start somewhere, and at a fundamental level, having a Kali VM up and running is the initial building block. In this blog, we’ll take the next step by introducing Metasploitable. Stay tuned for future posts where we’ll expand our lab to include a pivot server and dive into setting up an Active Directory environment.
Setting up Metasploitable 2 on VM Ware
Let’s start with downloading Metasploitable 2 source to download in mentioned here: https://docs.rapid7.com/metasploit/metasploitable-2
We used: https://sourceforge.net/projects/metasploitable/
Extract the folder from the zip file:
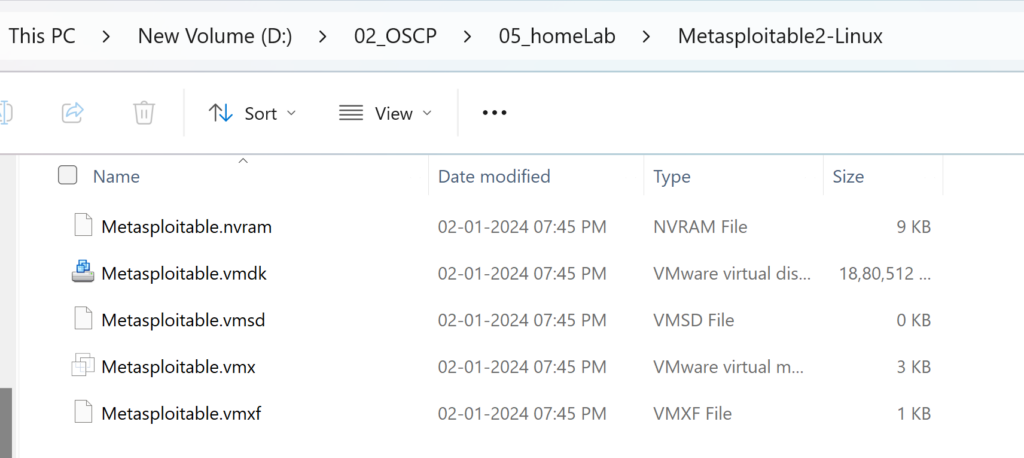
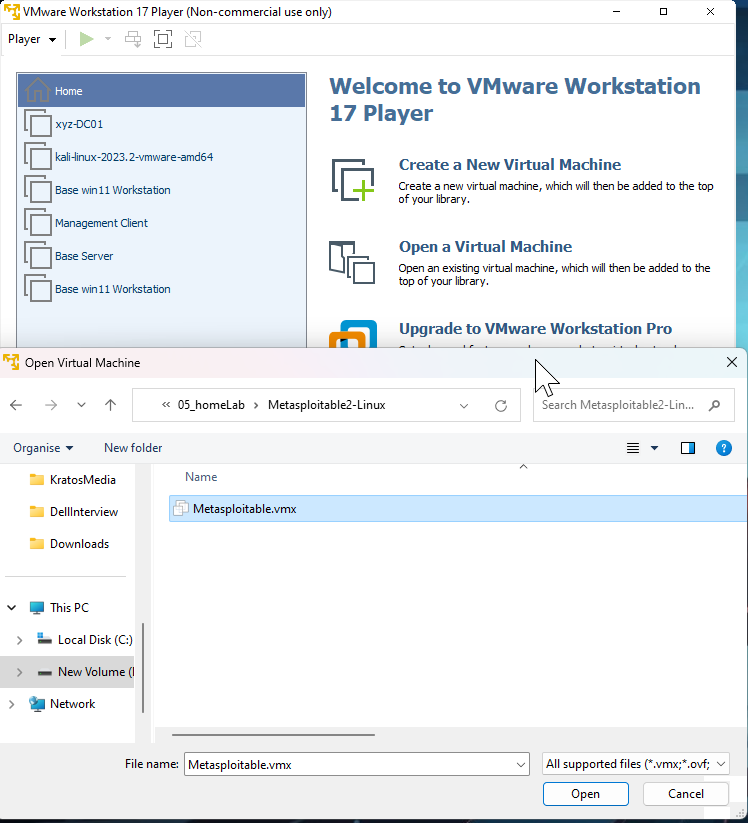
Open VMWare and open the VM files:
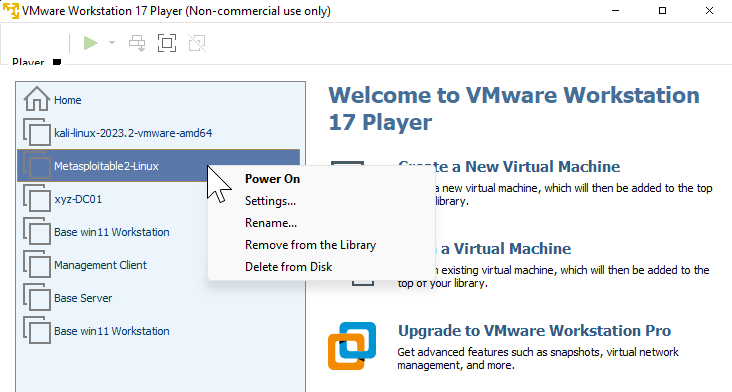
Launch the Metasploitable in VM ware. Select moved it if prompted.
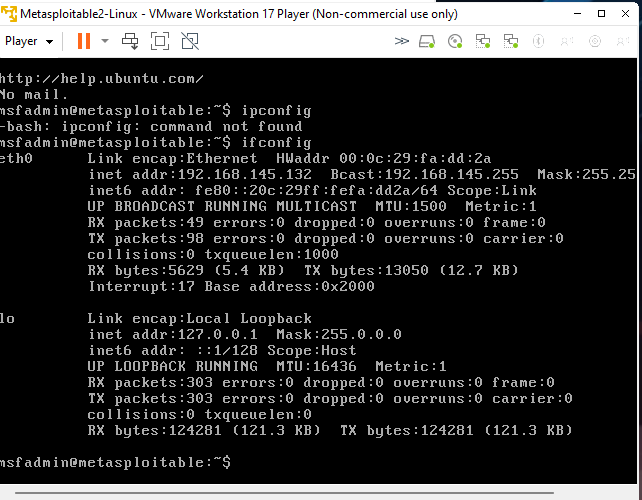
Once metasploitable boots up, login to metasploitable using ‘msfadmin’ as username and password
Get the IP of the machine by the command ‘ifconfig’
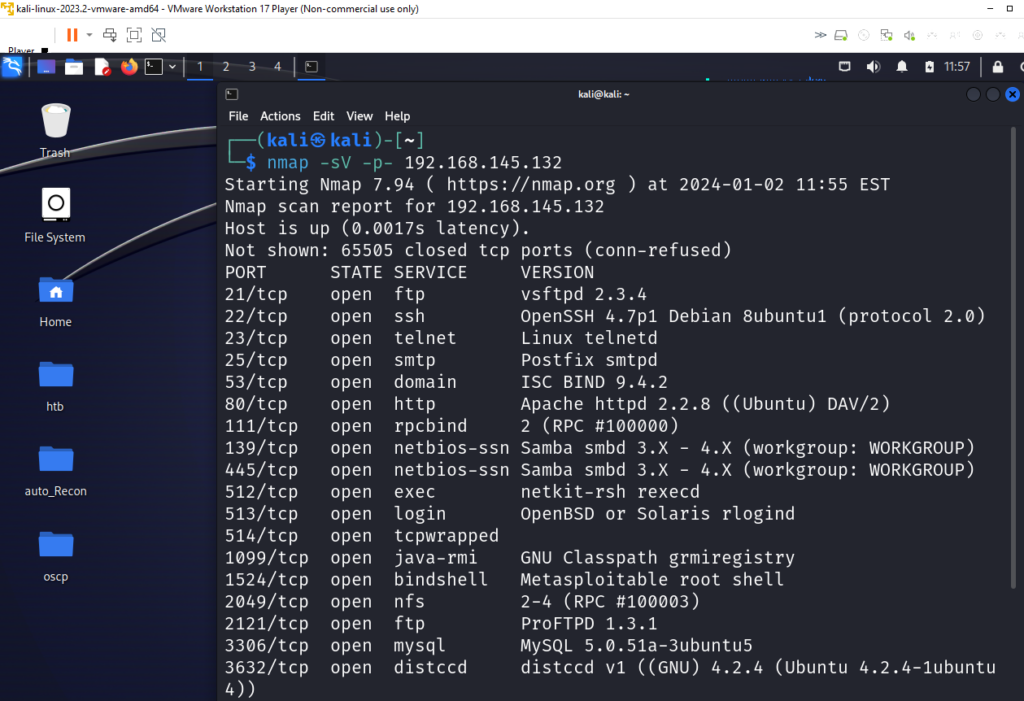
Now from our Kali machine we can launch nmap to scan metasploitable ports
Now we can use this setup to test new scanning tools or learning exploits offered by metasploitable you can refer the official guide here: https://docs.rapid7.com/metasploit/metasploitable-2-exploitability-guide
Level 2 – Pivot
Further setup to configure pivot machine, we need to add network adapters with different IP ranges (CIDR blocks). Unfortunately I did not find a way to do this in VMware. We will try to set this up with Virtual Box.
Setting up Kali on Virtual Box
Download Virtual Box for Windows hosts: https://www.virtualbox.org/wiki/Downloads
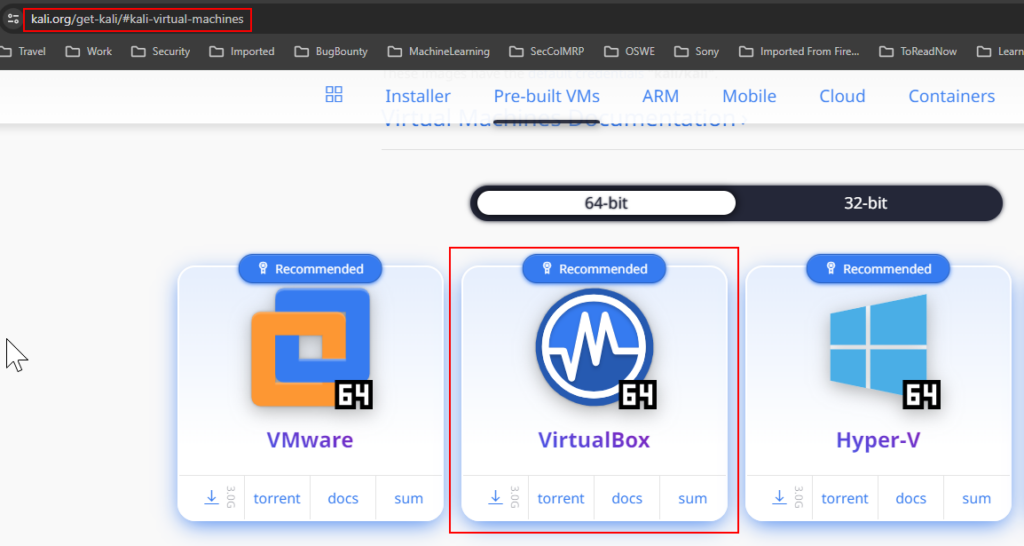
Let us download Virtual Box image for Kali Linux from: https://www.kali.org/get-kali/#kali-virtual-machines
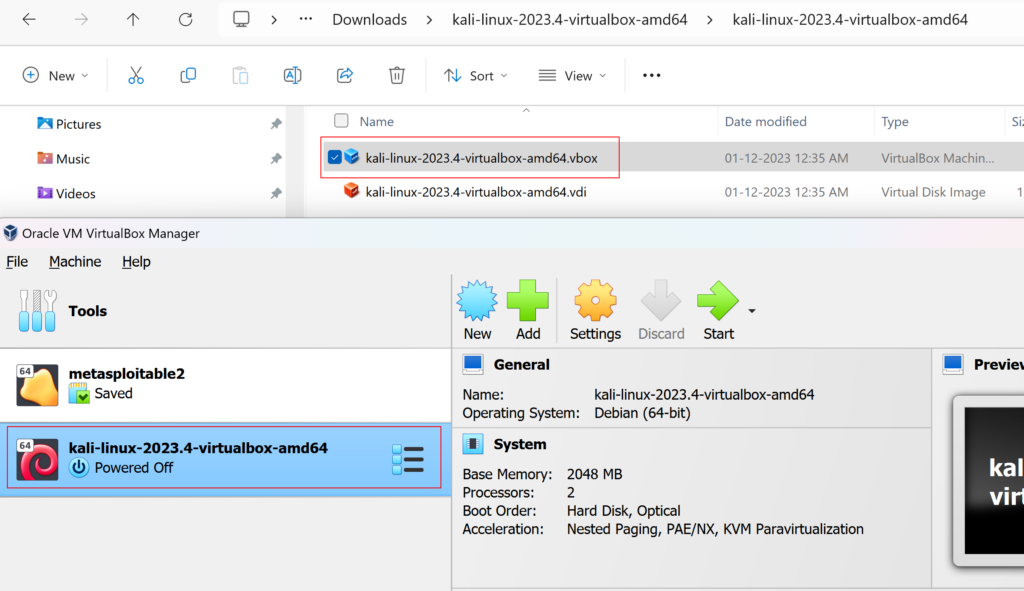
Extract the files and double click on the .vbox file, it will open Kali image in Virtual Box
Metasploitable on Virtual Box
After installation of Kali we will create a new machine for metasploitable
Give it a name and select location to store the VM files

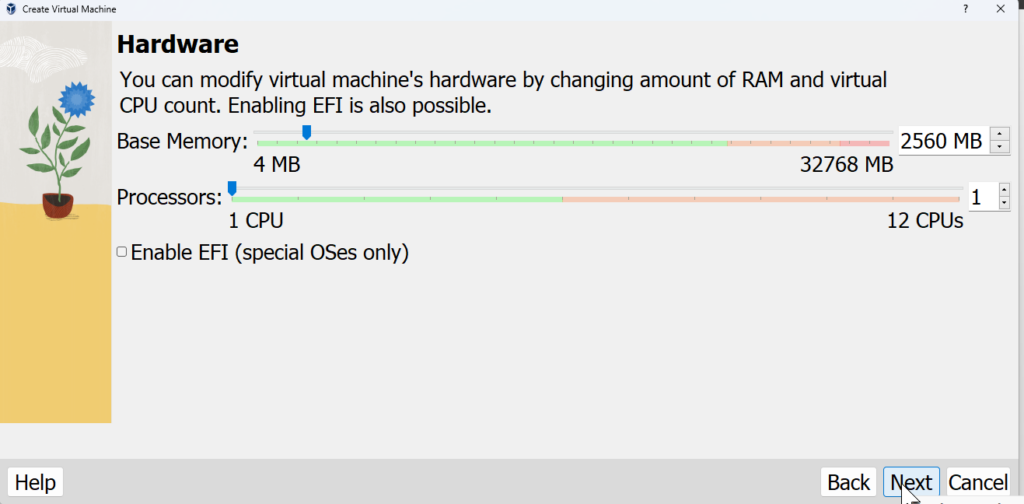
Select hardware configuration based on your host machine
Add new disk to load the metasploitable image
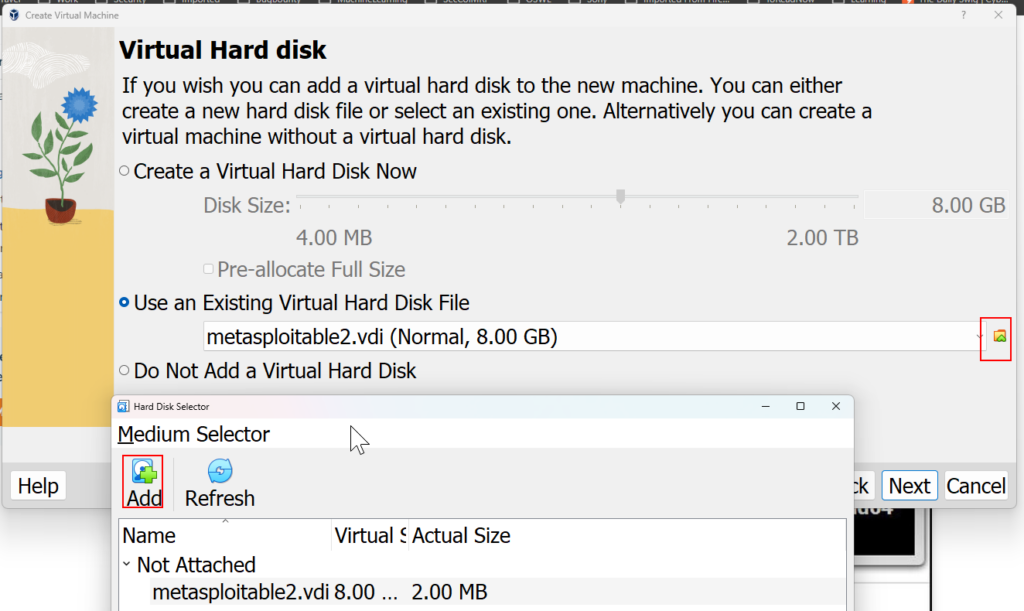
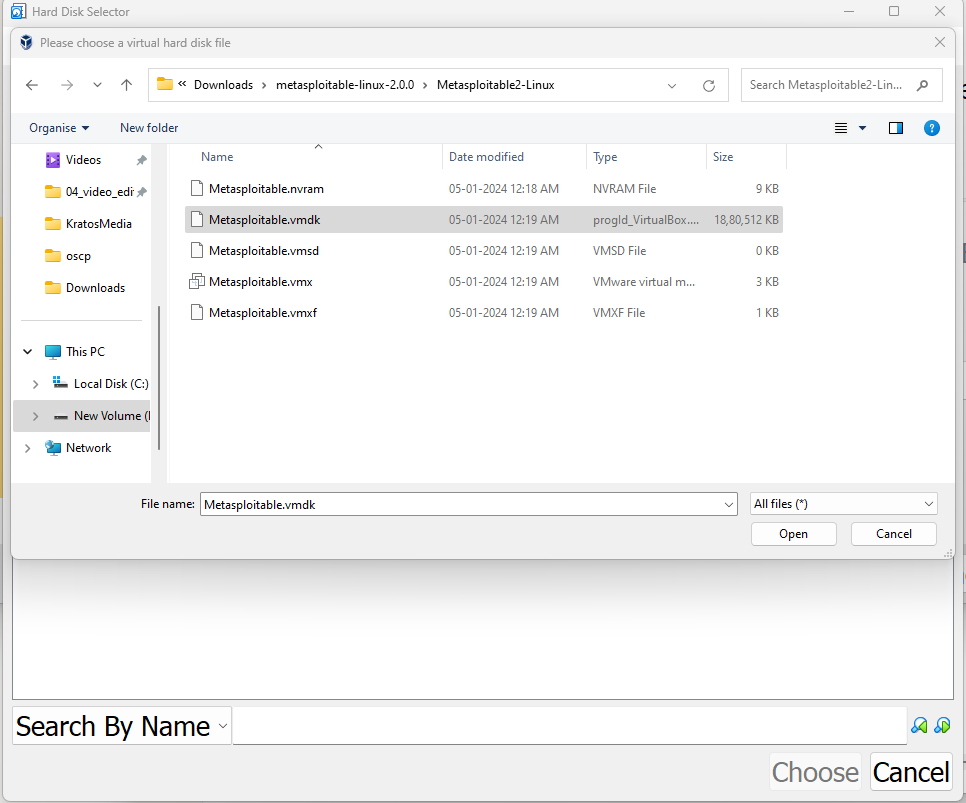
Then select the metasploitable.vmdk
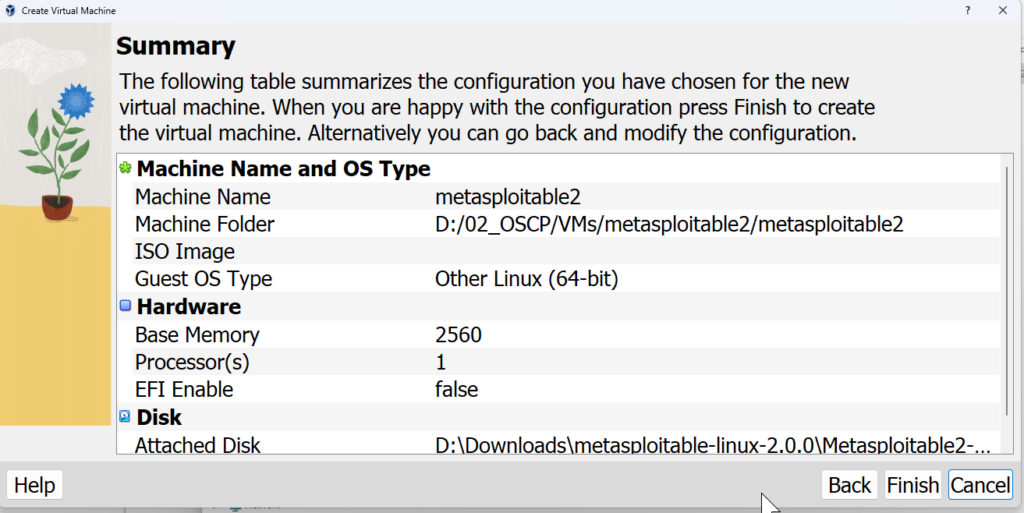
Review the details and complete the setup
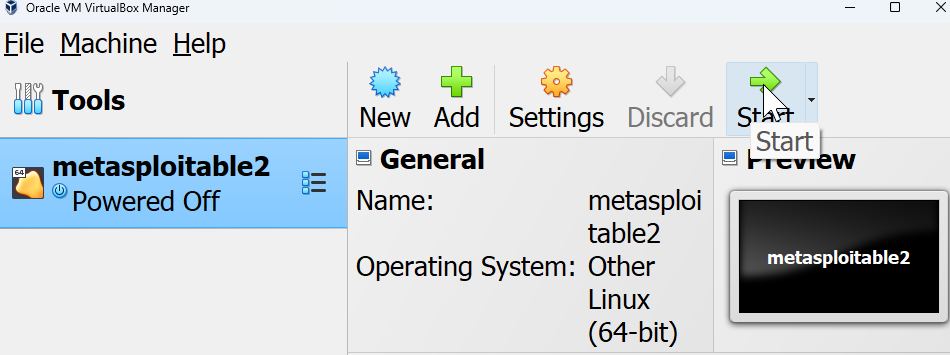
Now we can start the metasploitable machine
Setting up Network Adapters
Next we will configure network adapter to that we have internal and External network
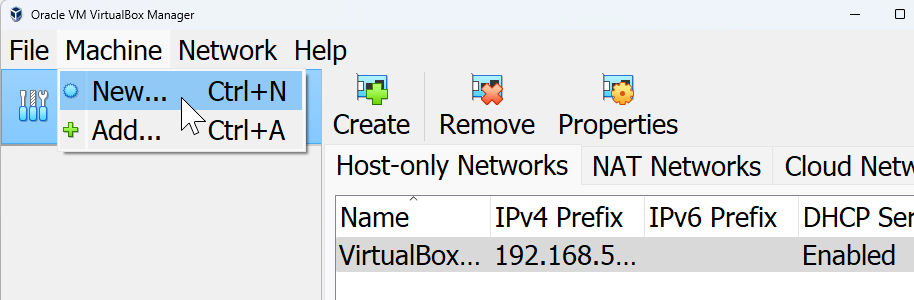
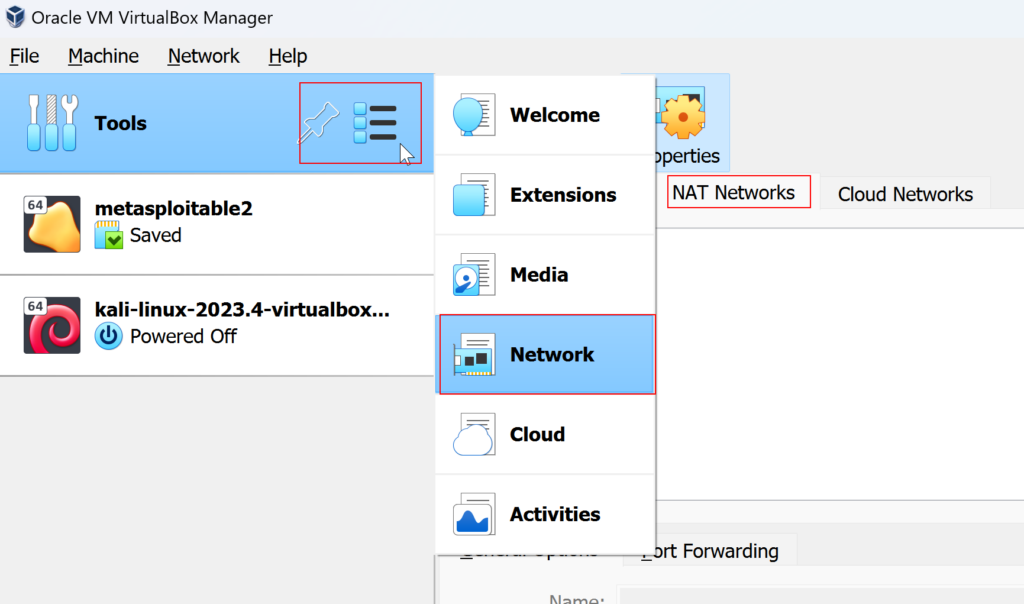
Click on Tool and select Network and select NAT tab
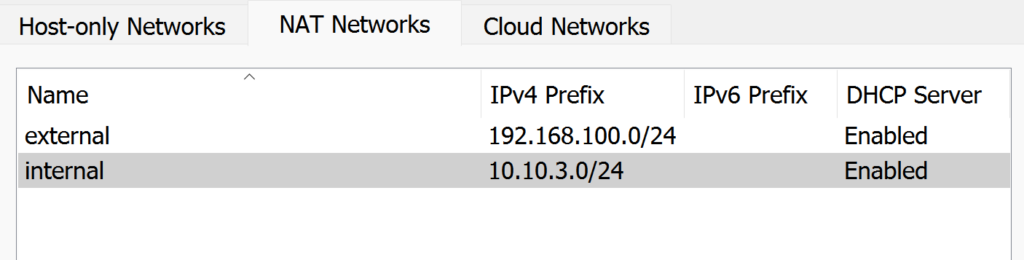
Click on create to add new interface, we will create 2, External network 10.10.3.0/24 and Internal network 192.168.100.0/24
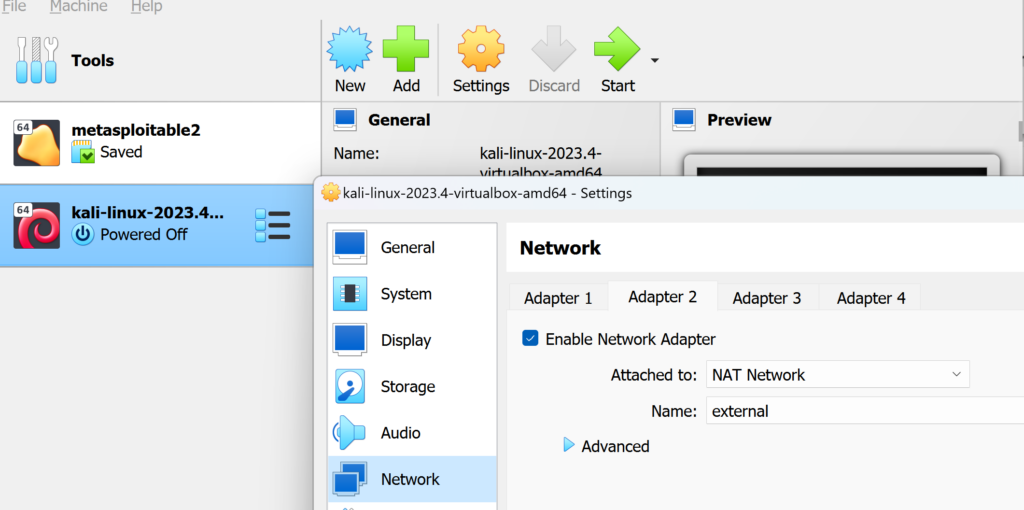
For Each machine we will configure the network adapter as follows:
| Machines | Adapter 1 | Adapter 2 |
| Kali machine | NAT | External |
| Pivot Machine (Ubuntu) | External | Internal |
| Internal Machine (Metasploitable) | Internal |
You can find the network setting here:
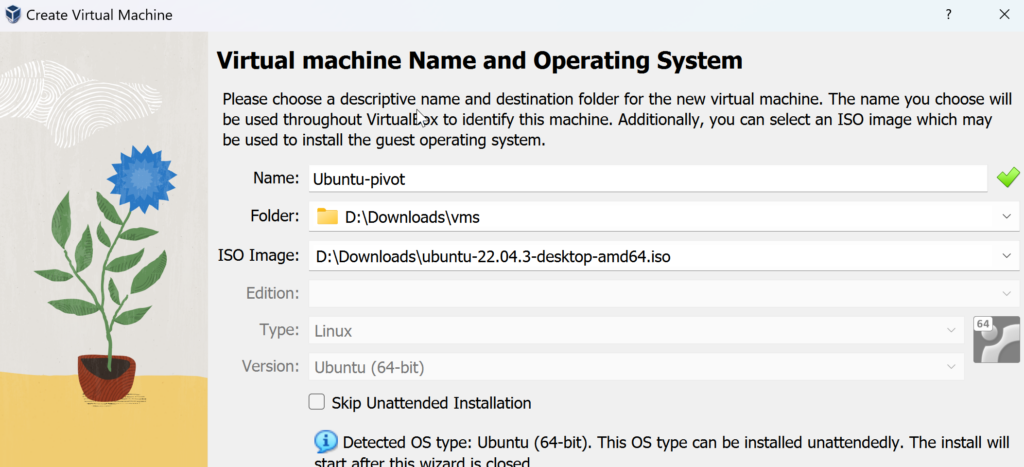
Setting up Pivot machine Ubuntu
We will add in Ubuntu machine to that we can test our setup for pivot.
Creating VM from ISO is pretty standard, just add the ISO file and follow the on-screen instructions:
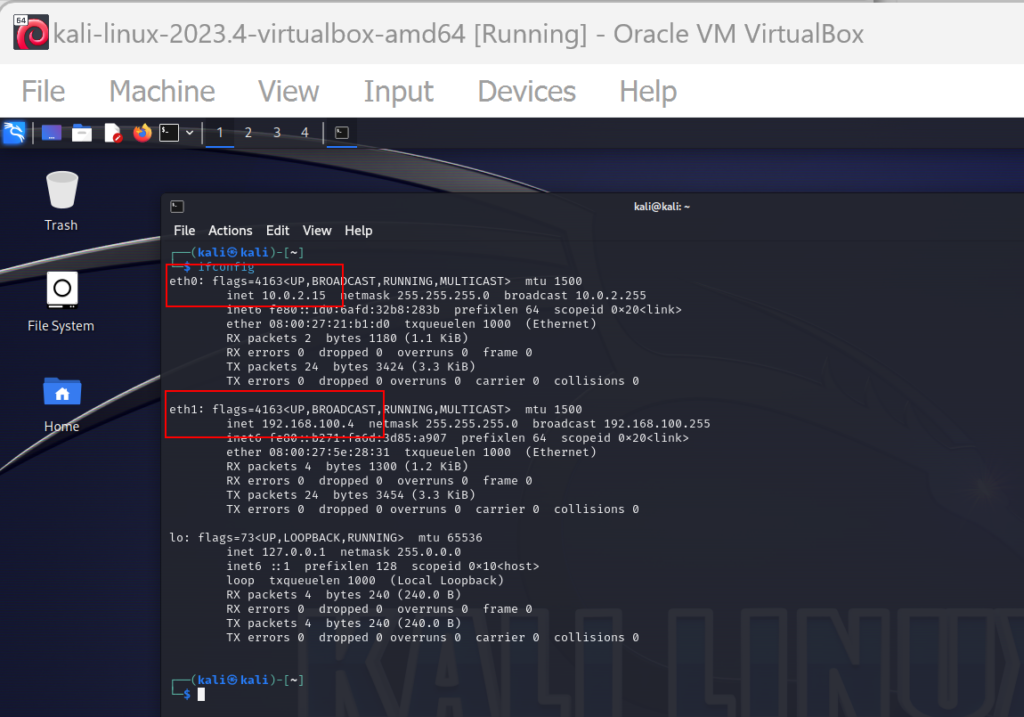
We have our Kali Setup with Default NAT and NAT external Network
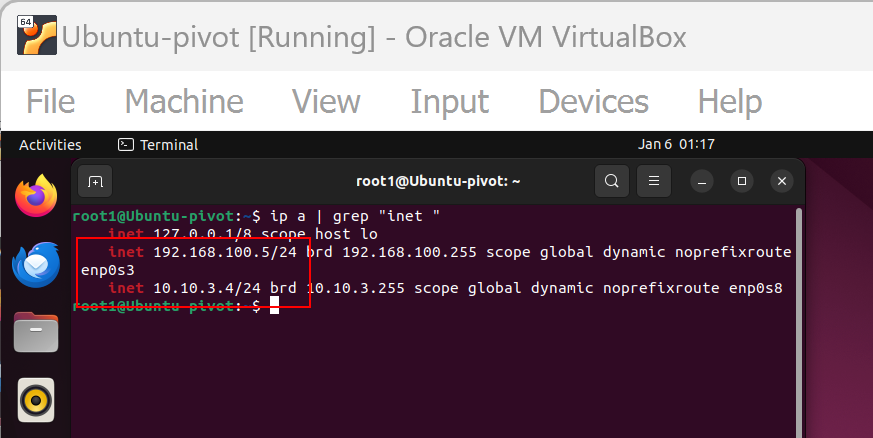
Ubuntu Pivot system with NAT external and Internal NAT
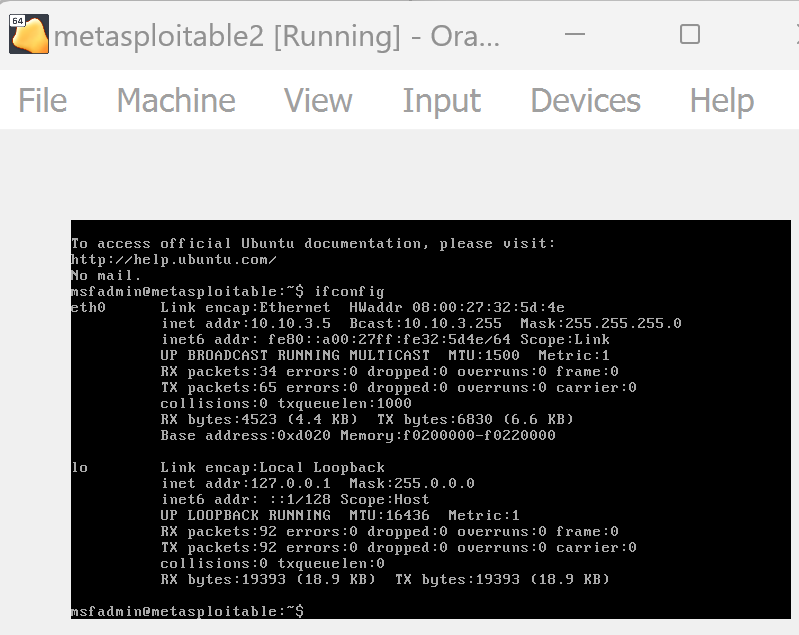
Metasploitable system as internal NAT
Those are 2 Levels of labs you can set up to practice, and test tools.
In Next post we will setup Active directory and start with some basic testing. I will post the link soon.

- Tousif
Application security Engineer, Husband, Father
- Enhance Your Prompting Skills with Fabric: Optimizing AI Usage February 29, 2024
- Building Home Lab for Pentest [Vulnerable AD Server] – Part 2 January 8, 2024
- Building Home Lab for Pentest - Part 1 January 5, 2024
- Active Directory for Pentest – Part 1 December 24, 2023
- Automating Pentest workflow – Using simple python script September 24, 2023